-
Start Workbench.
Your host PC appears in the Nav tree (My Host in left pane).
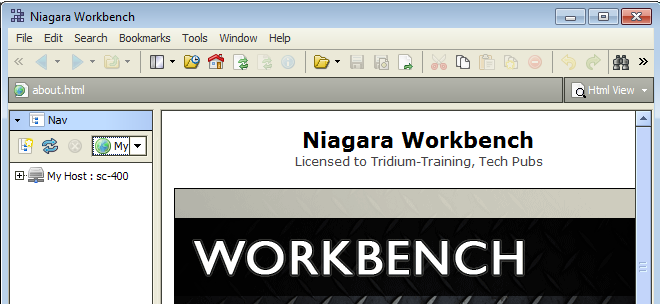
 If you don’t see the Nav tree, turn on “side bars.” See Tree Not Visible.
Right-click your host in the Nav tree.
From the popup menu, click: . A Connect popup appears, typically with Type set to
 Platform SSL Connection
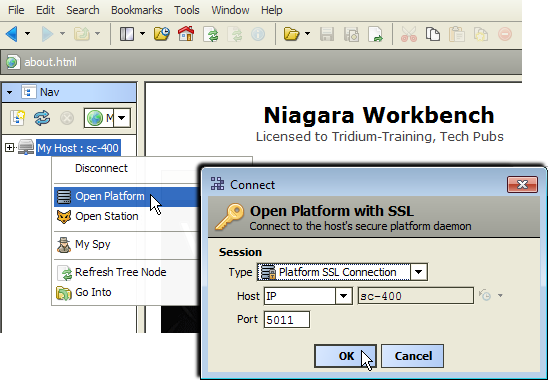
In the
 Connect popup (above), click .
In the Authentication popup, type your Windows administrator-level username and password.
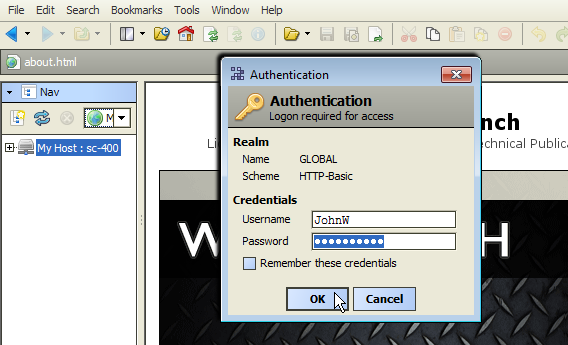 If you click the “Remember these credentials” checkbox, future access of the Platform node will authenticate without re-entering
credentials (Username and Password). Prior to AX-3.7 (and 2013 security updates), this was set by default. However, now this
is cleared by default—you must set it, if desired.
If you click the “Remember these credentials” checkbox, future access of the Platform node will authenticate without re-entering
credentials (Username and Password). Prior to AX-3.7 (and 2013 security updates), this was set by default. However, now this
is cleared by default—you must set it, if desired.
Click .
The first time you open your platform with SSL, a popup Identity Verification warning appears.

Click . This creates an “allowed hosts” certificate exemption for Workbench on this port (5011, if using defaults). For related details, see SSL and certificate notes in AX-3.8.
If connect Type was changed from  Platform SSL Connection to
  Platform Connection (in the Connect popup shown in Step 2 above), such a warning does not appear. It also does not appear again (after accepting it) in future local platform SSL connections—at
least for the duration of this certificate.
Platform Connection (in the Connect popup shown in Step 2 above), such a warning does not appear. It also does not appear again (after accepting it) in future local platform SSL connections—at
least for the duration of this certificate.
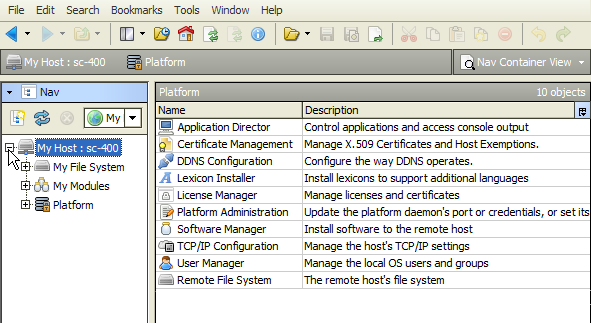
Various platform views are listed in the right-side View pane. In the Nav tree, if you expand My Host you now see a Platform node.
 If your Platform does not open, it may be a host login issue, or the Niagara platform daemon may be stopped. See Cannot Open Platform.
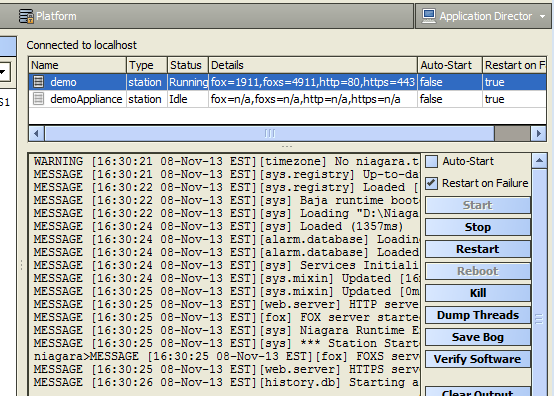
In the view pane, double-click the .
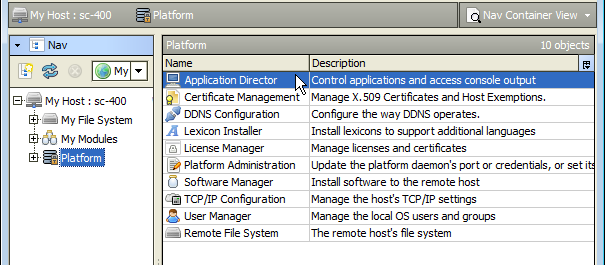
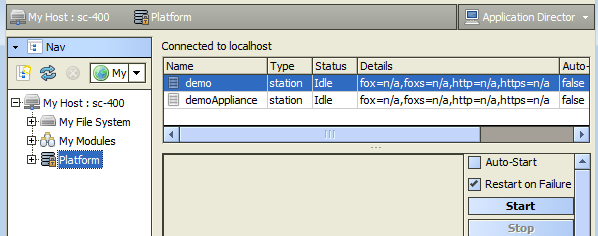
The Application Director appears in the view and lists available stations.
The demo station appears with a status of “Idle.”
 If no stations list, a divider may need moving. See Tree Not Visible.
-
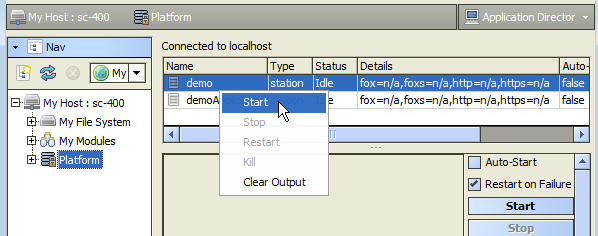
Right-click the demo station in the Application Director.
From the popup menu, click (or, with the demo station selected, click the right-side button).
The demo status changes to “Starting,” and messages start appearing in the view.
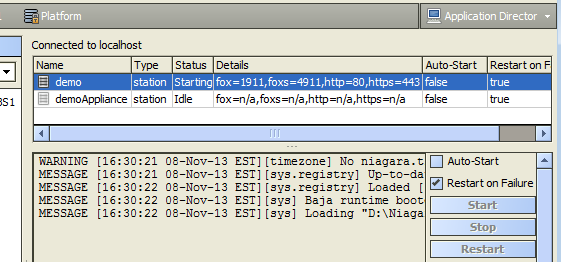
After several seconds, the demo station status changes to “Running.”
Right-click your host again in the Nav tree.
From the popup menu, click:
A Connect popup appears, typically with Type set to
 Station SSL Connection
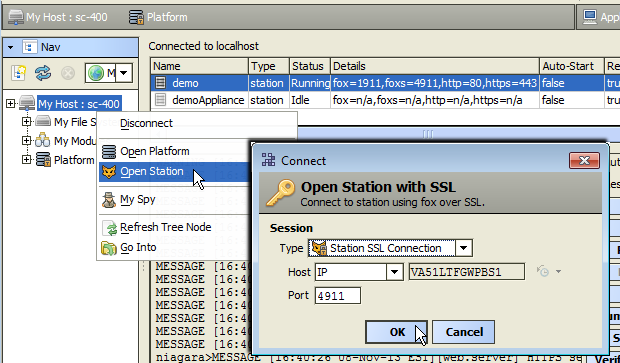
In the
 Connect popup (above), click .
The first time you open your station with SSL, a popup Identity Verification warning appears.
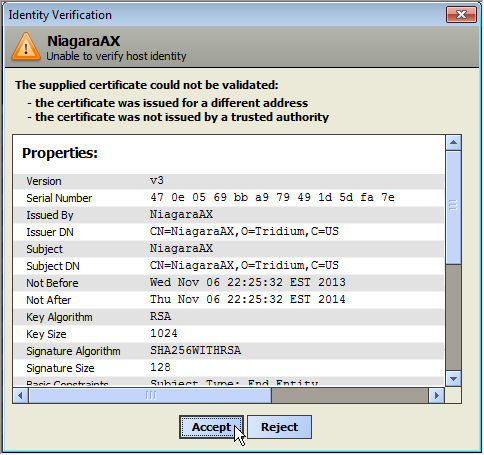
Click . This creates an “allowed hosts” certificate exemption for Workbench on this port (4911, if using defaults). For related details, see SSL and certificate notes in AX-3.8.
If connect Type was changed from  Station SSL Connection to
  Station Connection (in the Connect popup shown in Step 6 above), such a warning does not appear. It also does not appear again (after accepting it) in future local SSL connections to this
station—at least for the duration of this certificate.
Station Connection (in the Connect popup shown in Step 6 above), such a warning does not appear. It also does not appear again (after accepting it) in future local SSL connections to this
station—at least for the duration of this certificate.
-
An Authentication popup appears (here, you login using a station user account).
In the Username field, type
admin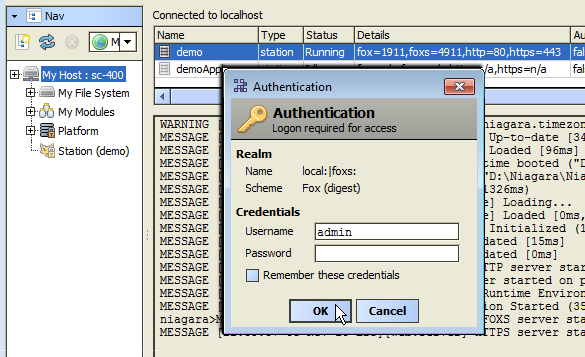
Leave Password blank (for just this one time), and click .
A “Reset Password” popup dialog appears.
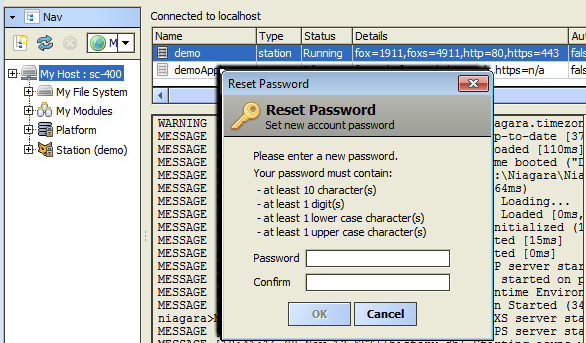 This “Reset Password” request occurs because all users in the AX-3.8 demo station have their account set to require a password
reset upon first login (a change from the demo station in releases prior to AX-3.8).
You must enter a new password for the admin user in the next step. For related details, see Demo stations security notes.
This “Reset Password” request occurs because all users in the AX-3.8 demo station have their account set to require a password
reset upon first login (a change from the demo station in releases prior to AX-3.8).
You must enter a new password for the admin user in the next step. For related details, see Demo stations security notes.
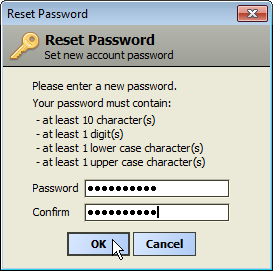
Type a new “strong” password in the “Password” field, and repeat it again in the second “Confirm” field.
 Follow the strong password rules given in the popup (note that “digit” means a numeral). The demo station’s User Service is configured to require strong passwords. Note that in AX-3.8, these strong password rules are also configurable, via a “Password Configuration” component under the User Service.
Make this password unique, and be sure to remember (or make a note of) it!
Follow the strong password rules given in the popup (note that “digit” means a numeral). The demo station’s User Service is configured to require strong passwords. Note that in AX-3.8, these strong password rules are also configurable, via a “Password Configuration” component under the User Service.
Make this password unique, and be sure to remember (or make a note of) it!
When your matching password entries meet these rules, the button is enabled. Click .
Again, see the section Demo stations security notes.
-
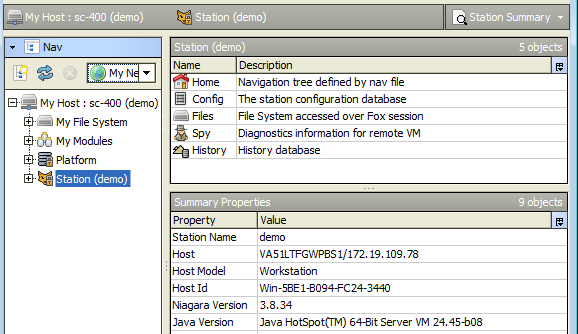
The demo station opens in the view and appears as a node in the Tree.
 If the “Reset Password” dialog does not appear and the station does not open, some other login issue is likely. See Cannot Open Station.
-
To explore the station, just click on expand controls in the Tree to browse the station’s hierarchy. Simply double-click on items of interest to see item contents in the view.
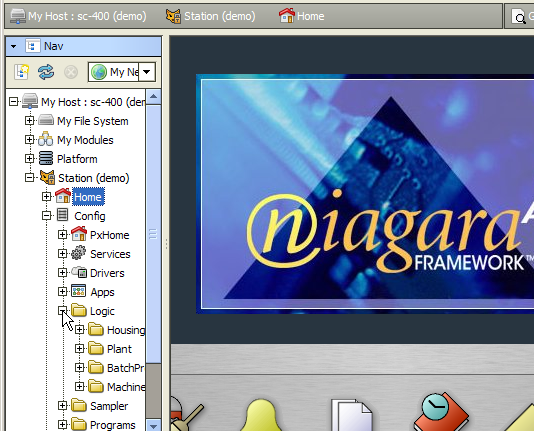 The Config node represents the actual station database, and holds components with wire sheet and property sheets views, among many other
view types.
The Config node represents the actual station database, and holds components with wire sheet and property sheets views, among many other
view types.
See Tips on Navigating the Demo for some of the many Workbench navigation features.
![]() You can exit Workbench without stopping the demo station, and then restart Workbench and reopen the demo again (until your
PC is rebooted). Start with Step 6 above.
If you’d rather, you can also stop the demo station first. See Stopping the Demo Station for more details.
You can exit Workbench without stopping the demo station, and then restart Workbench and reopen the demo again (until your
PC is rebooted). Start with Step 6 above.
If you’d rather, you can also stop the demo station first. See Stopping the Demo Station for more details.